Table of Contents
- What is a Steel Erector?
- Responsibilities
- 8 Crucial Steps in the Steel Erection Process
- Frequently Asked Questions
- Elevate Your Construction Projects with Claris Design•Build!
Key Takeaways
✔ Steel erection is a precision-driven process where safe, accurate assembly of steel members determines the strength of the entire structure.
✔ Early preparation—verifying materials, equipment, and safety compliance—prevents defects, delays, and jobsite risks.
✔ Installation must follow a strict sequence (columns, beams, bracing, frames) to keep alignment and stability consistent as the structure rises.
✔ Continuous calibration, stability testing, and inspections reduce rework and ensure the frame matches design specifications.
✔ Skilled erectors, supported by modern tools and technology, improve speed, safety, and overall build quality.
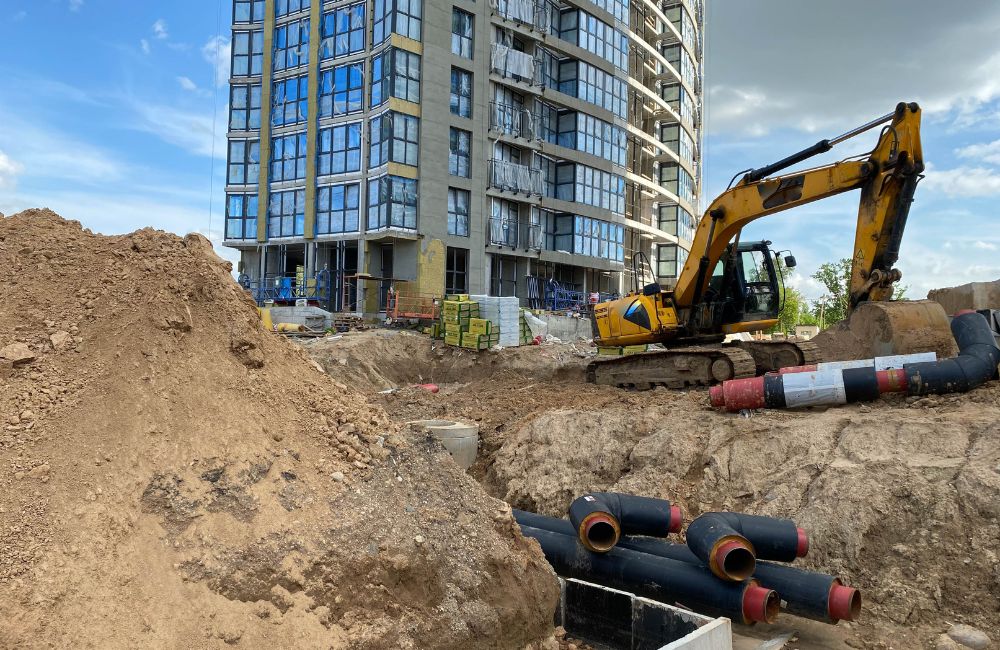
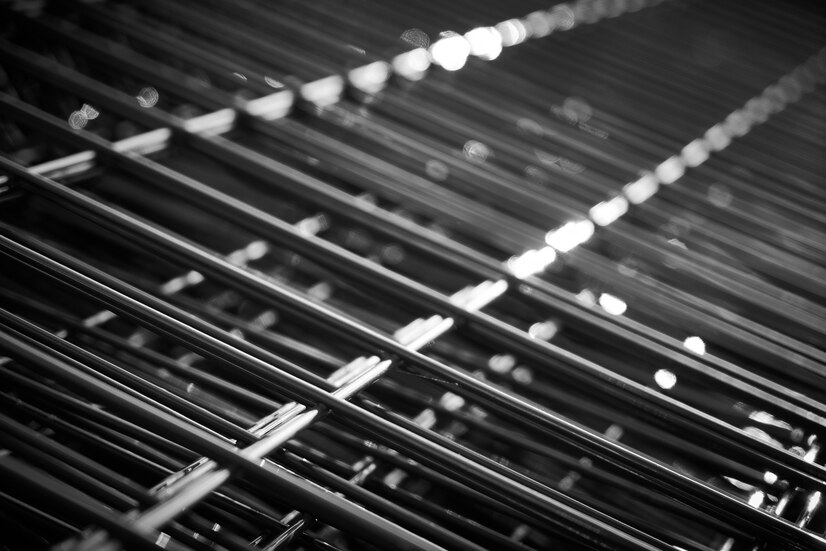
Steel erection is the process of assembling and installing steel components to form the structural framework of a building or other construction project. This involves lifting, placing, and connecting steel beams, columns, and other structural elements. The process requires precision and skill to ensure the structure's stability and integrity.
What is a Steel Erector?
A steel erector is a crucial construction professional tasked with assembling the skeletal structures of buildings, bridges, and other steel frameworks, ensuring these structures are constructed safely and according to specifications. In the U.S., there are approximately 63,780 structural iron and steel workers, with an average annual wage of $68,220.
Responsibilities
- Assembly and Installation: Read blueprints to assemble and install steel beams, columns, and girders.
- Safety: Follow strict safety protocols to ensure stability and prevent accidents.
- Collaboration: Work with architects, engineers, and contractors to coordinate lifting and placement.
- Welding and Bolting: Use welding and bolting techniques to secure steel pieces.
- Rigging and Hoisting: Operate cranes and hoisting equipment to lift heavy steel components.
- Problem-Solving: Adapt to challenges like measurement discrepancies or bad weather.
Skills and Qualifications
- Physical Fitness: Ability to lift heavy objects and work at heights.
- Technical Training: Apprenticeships or vocational programs in steel erection techniques.
- Attention to Detail: Ensuring precise and safe construction.
- Certifications: In welding, rigging, and safety procedures.
8 Crucial Steps in the Steel Erection Process
Erecting a steel frame is a complex process that involves handling heavy materials and navigating rapidly changing conditions, which can create significant hazards. By following a systematic approach and adhering to safety protocols, you can mitigate these risks.
Here are the eight essential steps involved in the steel erection process, ensuring a high-quality and safe construction project:
Step 1: Pre-Erection Preparation
Before the steel erection process begins, it's crucial to prepare thoroughly by focusing on the quality and quantity of materials and equipment. These elements are fundamental to the success of the project. High-quality materials ensure durability and safety, while sufficient quantity prevents delays. Both must comply with safety standards and the structural plans laid out in the project specifications.
Material Inspection and Validation
Conduct a thorough process to ensure all materials and equipment meet the necessary project standards. Here are some steps to follow:
- Assessing Materials: Verify that all materials meet the required standards and are free from defects. The acceptance of steel structures is crucial for ensuring construction quality before use. This process must strictly follow current standards. Since constructing steel structures, especially prefabricated ones, involves assembling various interconnected parts, adhering to acceptance standards like TCVN 170:2007 is essential. This adherence guarantees the construction's overall quality, safety, and durability.
- Checking Equipment: Ensure all construction machinery, such as cranes, excavators, loaders, and welding machines, is functioning correctly without unusual noises, vibrations, or performance issues. Verify that safety guards, emergency stop buttons, and other safety mechanisms are in place and operational. Review maintenance logs to confirm regular servicing. Before starting work, conduct thorough inspections, including fluid levels, tire pressures, and battery status. Perform functional tests to check control responses and overall performance. Ensure instruments and tools are properly calibrated according to manufacturer specifications and project requirements.
- Compliance Confirmation: Ensure all materials and equipment meet the Occupational Safety and Health Administration (OSHA) regulations for workplace safety. This includes proper labeling, safe handling procedures, and using personal protective equipment (PPE).
Step 2: Column and Beam Installation
Columns are essential for the load-bearing capacity of the steel structure. They provide the necessary support for the entire framework, making their correct installation critical. On the other hand, beams play a dual role: they support the roof and integrate it with the rest of the structure, and they enhance the building’s visual appeal. Their correct installation ensures the roof is firmly fixed and aesthetically pleasing.
Column and Beam Installation Procedures
Follow these precise installation procedures for columns and rafters to guarantee the building's structural integrity and aesthetic appeal.
- Technical Specifications: Follow the technical guidelines for erecting and producing columns and Beams according to the project's engineering plans.
- Safety Measures: Given that steel erection consistently ranks among the top 10 most hazardous occupations according to annual BLS fatality data, implementing robust safety protocols is essential to prevent accidents during installation.
- Precision in Installation: Install columns and rafters exactly as shown in the structural drawings. Mark locations carefully, then use levels and plumb lines to confirm alignment during placement. Keep cross-checking against the plans to stay accurate.
Step 3: Purlin and Brace Setup
Purlins and braces are installed based on the design specifications. These components are crucial for the stability and rigidity of the structure, providing additional support and ensuring that the roof and walls are securely fixed.
Aligning Purlins and Braces
Implement these steps to ensure proper alignment of purlins and braces, maintaining the stability and support of the entire structure.
- Positioning: Ensure that purlins and braces are positioned accurately as per the design, using measuring tapes and laser levels.
- Securing: Fix the purlins and braces securely to maintain structural integrity, using power drills and impact wrenches.
- Alignment Checks: Regularly check and adjust the alignment of rafter beams to ensure precision, using spirit levels, plumb bobs, and alignment lasers.
Step 4: Calibration of the Initial Frame
In this stage, components are placed in their precise positions. This step is critical for the overall stability and accuracy of the structure.
Ensuring Safety and Stability
A crucial part of the steel erection process is ensuring the safety and stability of the initial frame. Here are the key steps to follow:
- Calibration Tools: Use appropriate tools to calibrate the initial frame, such as laser levels, theodolites, and digital inclinometers.
- Safety Checks: Conduct thorough safety checks to ensure all components are securely placed. Test factors such as the stability of connections, tightness of bolts and fasteners, proper installation of safety guards, alignment of structural elements, and the functionality of emergency stop mechanisms.
- Stability Testing: Test the stability of the initial frame to prevent future issues by using load testing equipment, such as hydraulic jacks and weights, to apply simulated loads. Use strain gauges and displacement sensors to monitor any movement or deformation. Additionally, conduct visual inspections and use laser levels to ensure the frame remains aligned and stable under load.
Step 5: Installation of Subsequent Frames
Once the first frame is aligned and calibrated, the remaining frames can be installed. This step involves the systematic installation of the rest of the pavilion frames, completing the main structure of the project.
Precision in Installing Additional Frames
Ensuring the precise installation of additional frames is crucial for maintaining the structural integrity and consistency of the building. Here are some key steps:
- Sequential Installation: Follow a systematic approach to install each frame in sequence, starting from a fixed reference point and proceeding outward. This ensures that each frame is placed in the correct position relative to the others.
- Alignment Verification: Continuously verify the alignment of each frame using laser levels and theodolites to ensure vertical and horizontal consistency. Adjustments should be made immediately to correct any deviations.
- Structural Integration: Integrate each frame with the previously installed ones by securely bolting or welding connections and cross-bracing elements. This maintains the structural integrity and ensures that the frames act as a single cohesive unit.
Step 6: Louver Installation
Louvers are installed to protect the structure from environmental and weather impacts. This step is crucial for the durability and longevity of the building.
Selecting and Installing Louvers
Use these guidelines for choosing suitable materials and performing precise installation of louvers to protect the building from environmental elements.
- Choosing Materials: Pick louver materials that suit the environment and will last, while balancing cost, availability, and ease of installation. Make sure they meet local codes and work well with other project materials. Check that they resist corrosion, UV exposure, and temperature changes.
- Precise Installation: Install louvers carefully using laser levels and measurements to keep alignment and spacing true to the design. Fasten them securely with the correct brackets and hardware. This ensures stability and proper performance.
- Regular Maintenance: Set a routine for inspections and cleaning to keep louvers working well. Watch for wear, rust, or damage and fix issues early. Tighten fasteners, lubricate moving parts, and replace broken pieces as needed.
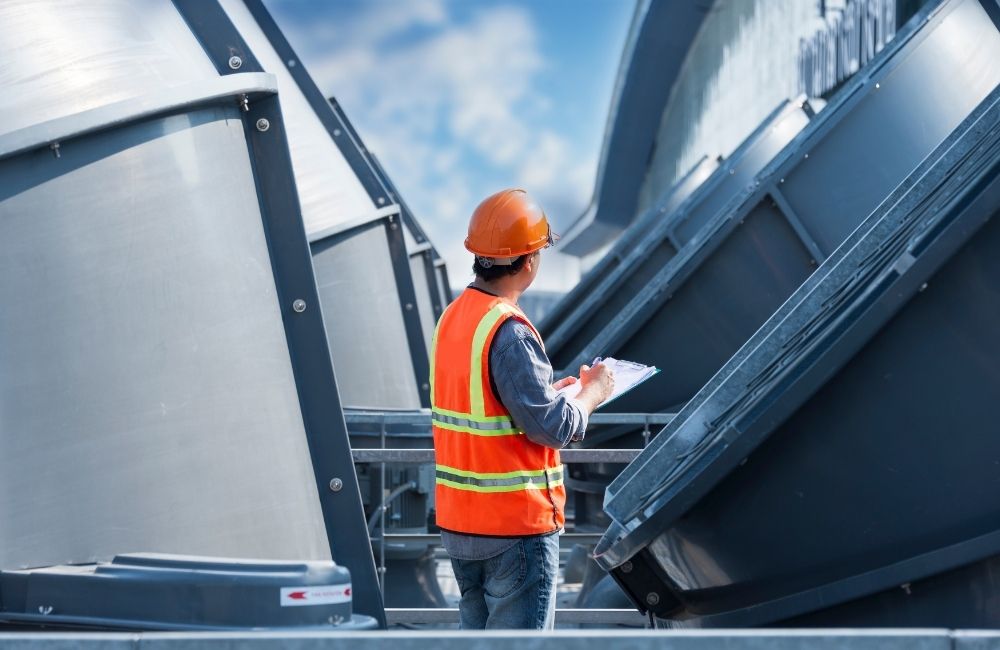
Step 7: Pre-Covering Inspection
Before proceeding to the final covering, it's essential to verify the steel structure's integrity. This step ensures that the erection has been done correctly and the structure is ready for the final stages.
Comprehensive Pre-Covering Inspection
Perform these comprehensive inspection processes before the final covering to ensure the steel structure is correctly erected and prepared for the last construction stages.
- Detailed Inspection: Conduct a detailed inspection of the steel structure using checklists and inspection tools such as calipers, micrometers, and ultrasonic testing equipment. Focus on weld quality, bolt tightness, and the alignment of structural elements.
- Error Correction: Identify and correct any errors or defects, such as misalignments, improper welds, or loose bolts. Use precision tools and equipment to ensure corrections are accurate and meet engineering standards.
- Readiness Confirmation: Confirm that the structure is ready for the final covering by performing a final walkthrough with the construction team, ensuring all elements are properly secured and aligned, and that no issues are outstanding.
Step 8: Final Covering and Finishing
The final stage involves the installation of various covering and finishing materials. These include louvers, exterior panels, insulation systems, and other components that protect and beautify the building.
Applying Protective Coverings and Finishing Touches
Complete the construction by following these steps to apply final coverings and finishes, protecting the structure and enhancing its visual appeal.
- Installation of Coverings: Attach exterior panels, louvers, and other coverings with the right fasteners and seals to protect against weather. Make sure everything is aligned and firmly secured.
- Insulation: Install insulation (like fiberglass or foam boards) in walls to improve energy efficiency and comfort. Seal gaps to prevent air leaks and heat loss.
- Finishing Touches: Apply finishes such as paint, cladding, and trim for a clean final look. Use quality materials and careful application for durability and visual appeal.
Frequently Asked Questions
What equipment is commonly used in steel erection?
Steel erection typically uses cranes, hoists, and aerial lifts to raise and position members. Erectors rely on tools like wrenches, torque gear, and welding equipment to secure connections. Fall-protection gear and temporary bracing are also essential to keep workers safe and the frame stable.
How do steel erectors ensure the accuracy of the structure?
Accuracy comes from careful planning, strict measurements, and constant checks during assembly. Erectors follow detailed drawings and use survey tools like laser levels or total stations for alignment. They inspect and adjust as they go to match design and safety requirements.
What qualifications and skills are required for steel erectors?
Steel erectors finish vocational training or apprenticeships in ironwork. They must read blueprints, use tools well, and follow safety rules. Fitness, teamwork, and problem-solving matter because the job is heavy and high-risk.
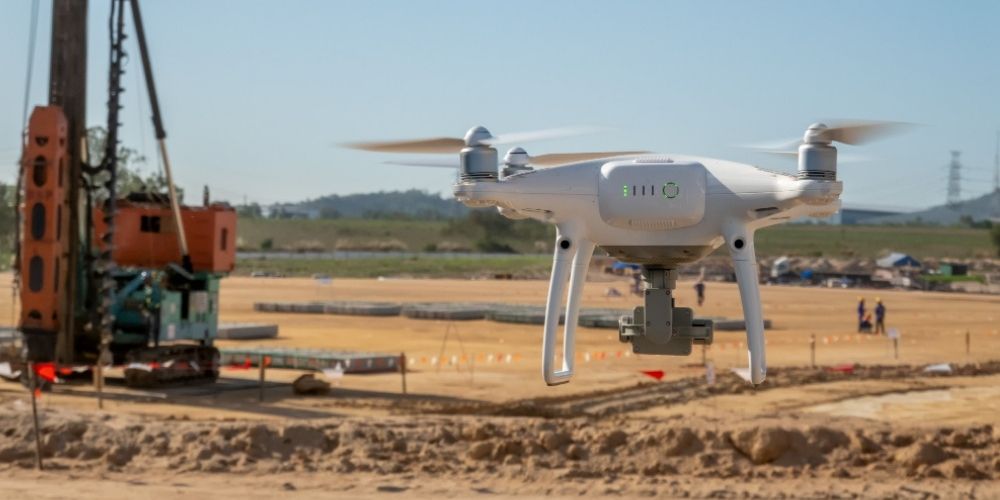
How does technology impact steel erection?
Technology improves speed, safety, and precision in steel erection. BIM and digital models help crews plan lifts and placements more accurately. Drones and laser scanning support faster inspections and reduce errors or rework.
What are the benefits of using steel in construction?
Steel is strong, durable, and flexible for many building types. Its high strength-to-weight ratio supports big spans with fewer columns and holds up well against fire and pests. It’s also widely recyclable, which supports more sustainable construction.
Elevate Your Construction Projects with Claris Design•Build!
Discover unmatched excellence in steel erection with Claris Design•Build. Our expertise and meticulous attention to detail guarantee your building project is executed with superior quality and precision. From pre-erection preparation to the final finishing touches, we manage every step with care and professionalism. Let us bring your vision to reality, creating a durable and aesthetically stunning structure that endures.
Contact Claris Design•Build today to elevate your construction project to extraordinary levels